
Host on Netlify
Host your project on Netlify.
Use these instructions to enable continuous deployment from a GitHub repository. The same general steps apply for other Git providers such as GitLab or Bitbucket.
Do not commit the contents of the publishDir directory to your repository. Hugo recreates this directory when you build your project.
Prerequisites
Please complete the following tasks before continuing:
- Create a Netlify account.
- Log in to your Netlify account.
- Create a GitHub account.
- Log in to your GitHub account.
- Create a GitHub repository for your project.
- Create a local Git repository for your project with a remote reference to your GitHub repository.
- Create a Hugo project within your local Git repository and test it with the
hugo servercommand. - Commit the changes to your local Git repository and push to your GitHub repository.
Procedure
- Step 1
- Create a
netlify.tomlfile in the root of your project, adjusting the tool versions and time zone as needed.netlify.toml[build.environment] GO_VERSION = "1.26.4" HUGO_VERSION = "0.164.0" NODE_VERSION = "24.18.0" TZ = "Europe/Oslo" [build] publish = "public" command = """\ git config --global core.quotepath false && \ hugo build --gc --minify --baseURL "${URL}" """If your project requires Dart Sass to transpile Sass to CSS, set the
DART_SASS_VERSIONand include the Dart Sass installation in the build step.netlify.toml[build.environment] DART_SASS_VERSION = "1.101.0" GO_VERSION = "1.26.4" HUGO_VERSION = "0.164.0" NODE_VERSION = "24.18.0" TZ = "Europe/Oslo" [build] publish = "public" command = """\ curl -sfLO "https://github.com/sass/dart-sass/releases/download/${DART_SASS_VERSION}/dart-sass-${DART_SASS_VERSION}-linux-x64.tar.gz" && \ tar -C "${HOME}/.local" -xf "dart-sass-${DART_SASS_VERSION}-linux-x64.tar.gz" && \ rm "dart-sass-${DART_SASS_VERSION}-linux-x64.tar.gz" && \ export PATH="${HOME}/.local/dart-sass:${PATH}" && \ git config --global core.quotepath false && \ hugo build --gc --minify --baseURL "${URL}" """ - Step 2
- In your project configuration, change the location of the image cache to the
cacheDiras shown below:caches: images: dir: :cacheDir/images[caches] [caches.images] dir = ':cacheDir/images'{ "caches": { "images": { "dir": ":cacheDir/images" } } }See configure file caches for more information.
- Step 3
- Commit the changes to your local Git repository and push to your GitHub repository.
- Step 4
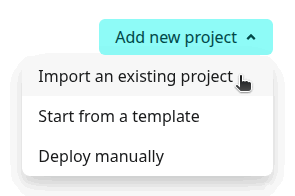
- In the upper right corner of the Netlify dashboard, press the Add new project button and select “Import an existing project".
- Step 5
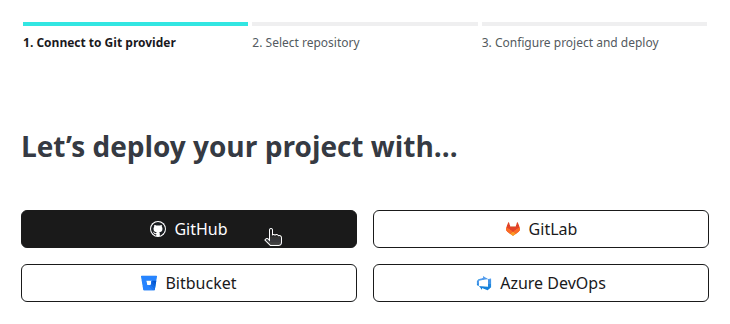
- Connect to GitHub.
- Step 6
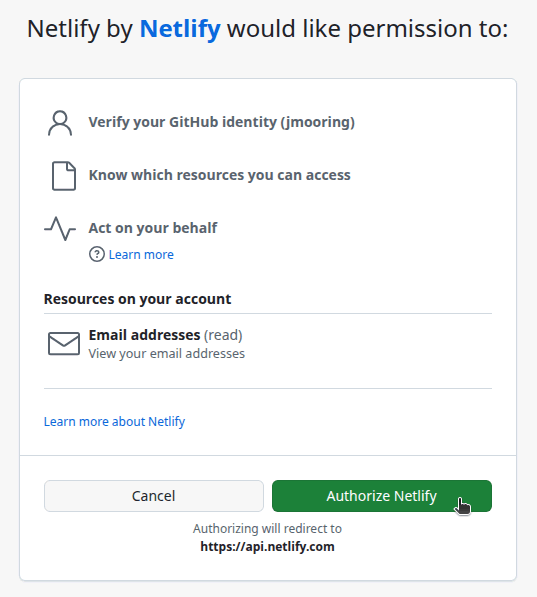
- Press the “Authorize Netlify” button to allow the Netlify application to access your GitHub account.
- Step 7
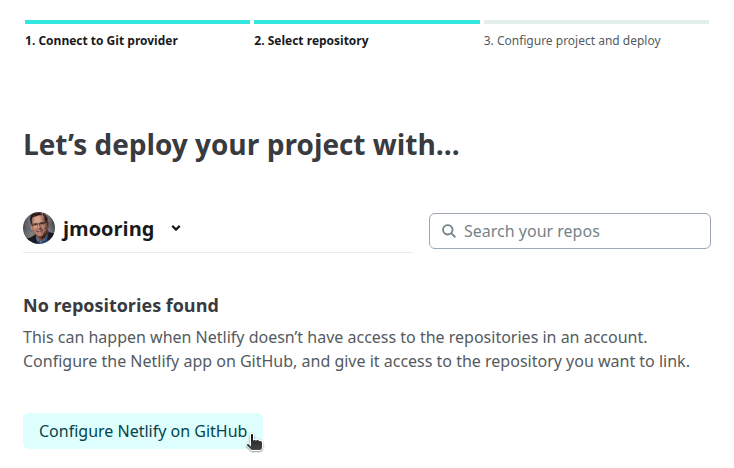
- Press the Configure Netlify on GitHub button.
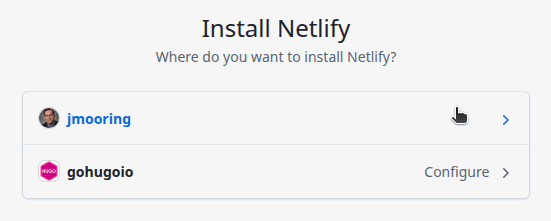
- Step 8
- Select the GitHub account where you want to install the Netlify application.
- Step 9
- Authorize the Netlify application to access all repositories or only select repositories, then press the Install button.
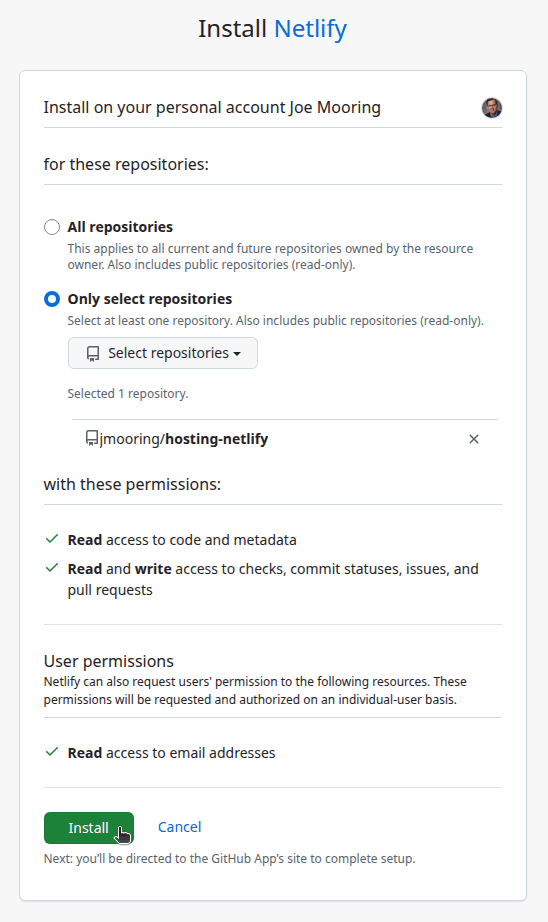
Your browser will be redirected to the Netlify dashboard.
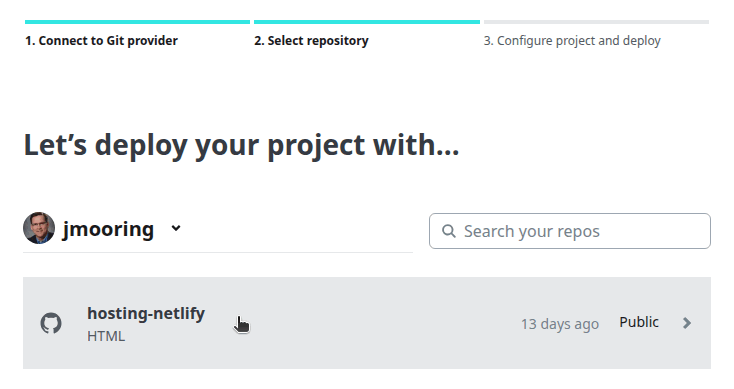
- Step 10
- Click on the name of the repository you wish to import.
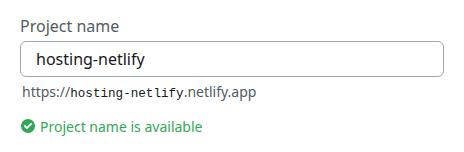
- Step 11
- On the “Review configuration” page, enter a project name, leave the settings at their default values, then press the Deploy button.
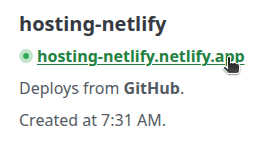
- Step 12
- When the deployment completes, click on the link to your published site.
In the future, whenever you push a change from your local Git repository, Netlify will rebuild and deploy your site.