Host on AWS Amplify
Host your site on AWS Amplify.
Use these instructions to enable continuous deployment from a GitHub repository. The same general steps apply if you are using GitLab for version control.
Prerequisites
Please complete the following tasks before continuing:
- Create an AWS account
- Log in to your AWS account
- Create a GitHub account
- Log in to your GitHub account
- Create a GitHub repository for your project
- Create a local Git repository for your project with a remote reference to your GitHub repository
- Create a Hugo project within your local Git repository and test it with the
hugo servercommand - Commit the changes to your local Git repository and push to your GitHub repository.
Procedure
This procedure will enable continuous deployment from a GitHub repository. The procedure is essentially the same if you are using GitLab or Bitbucket.
- Step 1
- Create a file named
amplify.ymlin the root of your project.touch amplify.yml - Step 2
- Copy and paste the YAML below into the file you created. Change the application versions and time zone as needed.amplify.yml
version: 1 env: variables: # Application versions DART_SASS_VERSION: 1.99.0 GO_VERSION: 1.26.1 HUGO_VERSION: 0.160.0 # Time zone TZ: Europe/Oslo # Cache HUGO_CACHEDIR: ${PWD}/.hugo NPM_CONFIG_CACHE: ${PWD}/.npm frontend: phases: preBuild: commands: # Create directory for user-specific executable files - echo "Creating directory for user-specific executable files..." - mkdir -p "${HOME}/.local" # Install Dart Sass - echo "Installing Dart Sass ${DART_SASS_VERSION}..." - curl -sLJO "https://github.com/sass/dart-sass/releases/download/${DART_SASS_VERSION}/dart-sass-${DART_SASS_VERSION}-linux-x64.tar.gz" - tar -C "${HOME}/.local" -xf "dart-sass-${DART_SASS_VERSION}-linux-x64.tar.gz" - rm "dart-sass-${DART_SASS_VERSION}-linux-x64.tar.gz" - export PATH="${HOME}/.local/dart-sass:${PATH}" # Install Go - echo "Installing Go ${GO_VERSION}..." - curl -sLJO "https://go.dev/dl/go${GO_VERSION}.linux-amd64.tar.gz" - tar -C "${HOME}/.local" -xf "go${GO_VERSION}.linux-amd64.tar.gz" - rm "go${GO_VERSION}.linux-amd64.tar.gz" - export PATH="${HOME}/.local/go/bin:${PATH}" # Install Hugo - echo "Installing Hugo ${HUGO_VERSION}..." - curl -sLJO "https://github.com/gohugoio/hugo/releases/download/v${HUGO_VERSION}/hugo_extended_${HUGO_VERSION}_linux-amd64.tar.gz" - mkdir "${HOME}/.local/hugo" - tar -C "${HOME}/.local/hugo" -xf "hugo_extended_${HUGO_VERSION}_linux-amd64.tar.gz" - rm "hugo_extended_${HUGO_VERSION}_linux-amd64.tar.gz" - export PATH="${HOME}/.local/hugo:${PATH}" # Verify installations - echo "Verifying installations..." - "echo Dart Sass: $(sass --version)" - "echo Go: $(go version)" - "echo Hugo: $(hugo version)" - "echo Node.js: $(node --version)" # Install Node.js dependencies - echo "Installing Node.js dependencies..." - "[[ -f package-lock.json || -f npm-shrinkwrap.json ]] && npm ci --prefer-offline || true" # Configure Git - echo "Configuring Git..." - git config core.quotepath false build: commands: - echo "Building site..." - hugo build --gc --minify artifacts: baseDirectory: public files: - '**/*' cache: paths: - ${HUGO_CACHEDIR}/**/* - ${NPM_CONFIG_CACHE}/**/* - Step 3
- Commit and push the change to your GitHub repository.
git add -A git commit -m "Create amplify.yml" git push - Step 4
- Log in to your AWS account, navigate to the Amplify Console, then press the Deploy an app button.
- Step 5
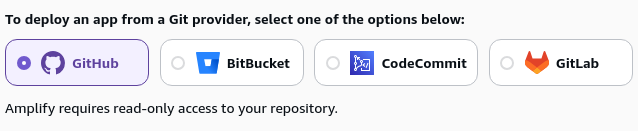
- Choose a source code provider, then press the Next button.
- Step 6
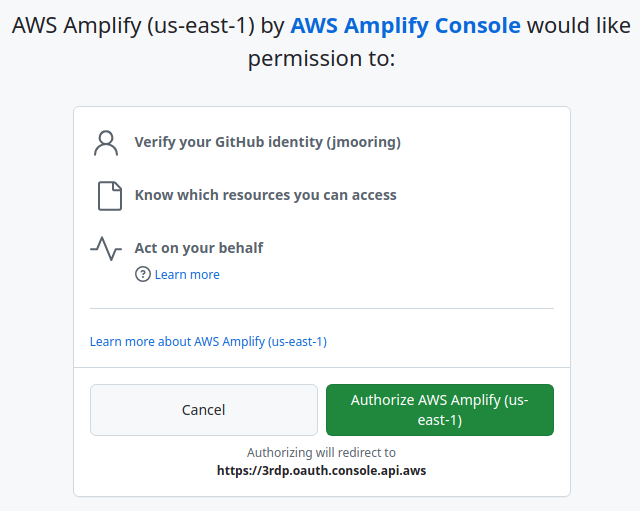
- Authorize AWS Amplify to access your GitHub account.
- Step 7
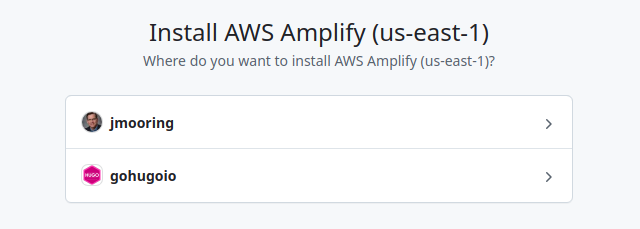
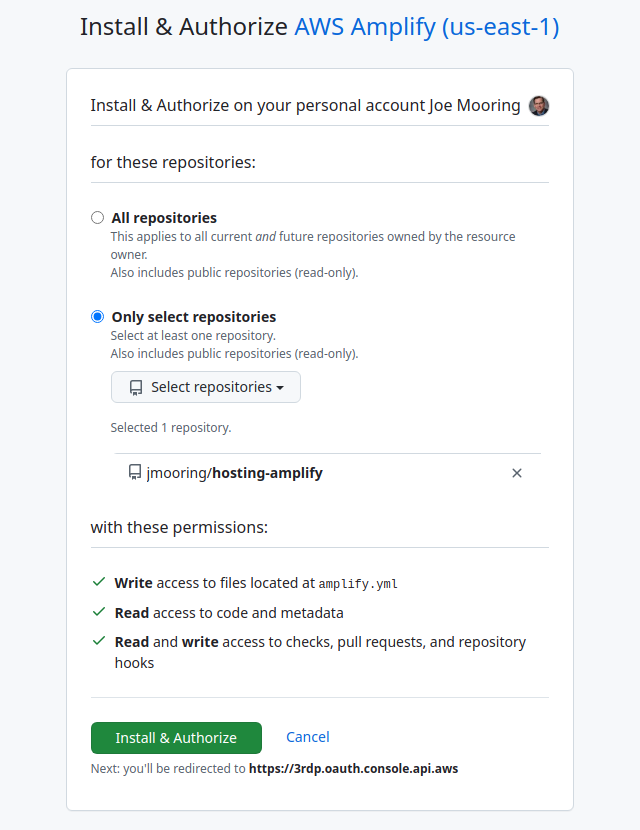
- Select your personal account or relevant organization.
- Step 8
- Authorize access to one or more repositories.
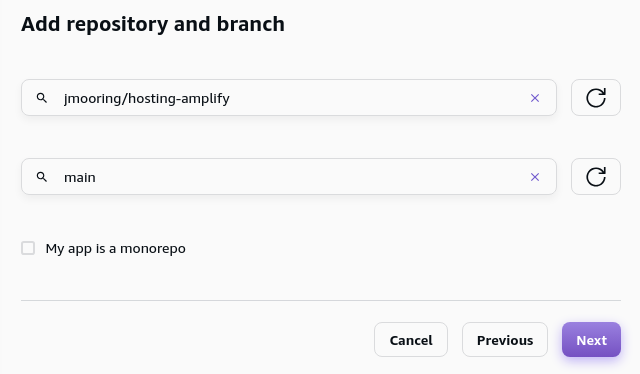
- Step 9
- Select a repository and branch, then press the Next button.
- Step 10
- On the “App settings” page, scroll to the bottom then press the Next button. Amplify reads the
amplify.ymlfile you created in Steps 1-3 instead of using the values on this page. - Step 11
- On the “Review” page, scroll to the bottom then press the Save and deploy button.
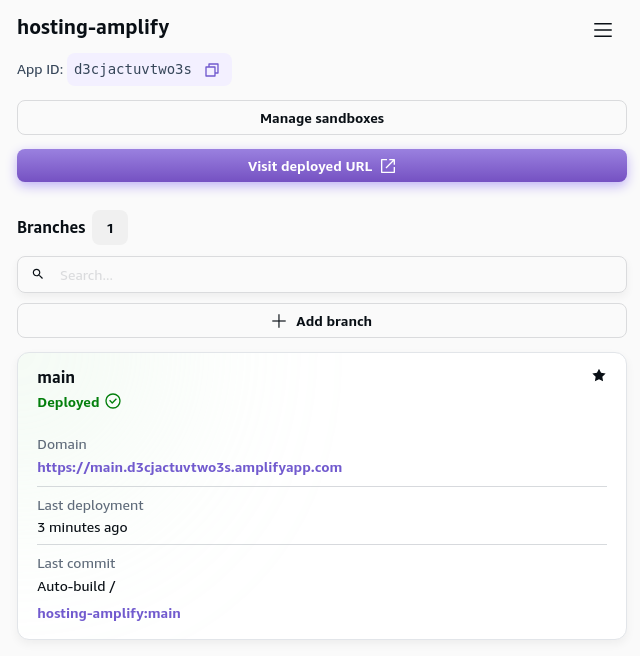
- Step 12
- When your site has finished deploying, press the Visit deployed URL button to view your published site.